


An AC duct inspection is a diagnostic assessment of your HVAC ductwork — checking for leaks, contamination, damage, and efficiency issues — to determine whether cleaning, repair, or nothing is needed. Think of it like getting an X-ray before surgery. We’ve been doing this in NYC since 1998, and here’s the thing: a good inspection saves you money. It tells you what’s actually wrong, not just guess.
What you’ll learn:
- Inspection ≠ cleaning — it’s the diagnostic step that comes first
- Professional inspection runs $100–$300 in NYC (often free with cleaning service)
- Takes 1–2 hours for most apartments and homes
- Uses cameras, pressure testing, and visual assessment
- Tells you IF you need cleaning, repairs, or nothing at all
- DIY visual checks catch obvious problems but can’t assess the full system
- NADCA recommends inspection before any duct cleaning work
Inspection vs. Cleaning
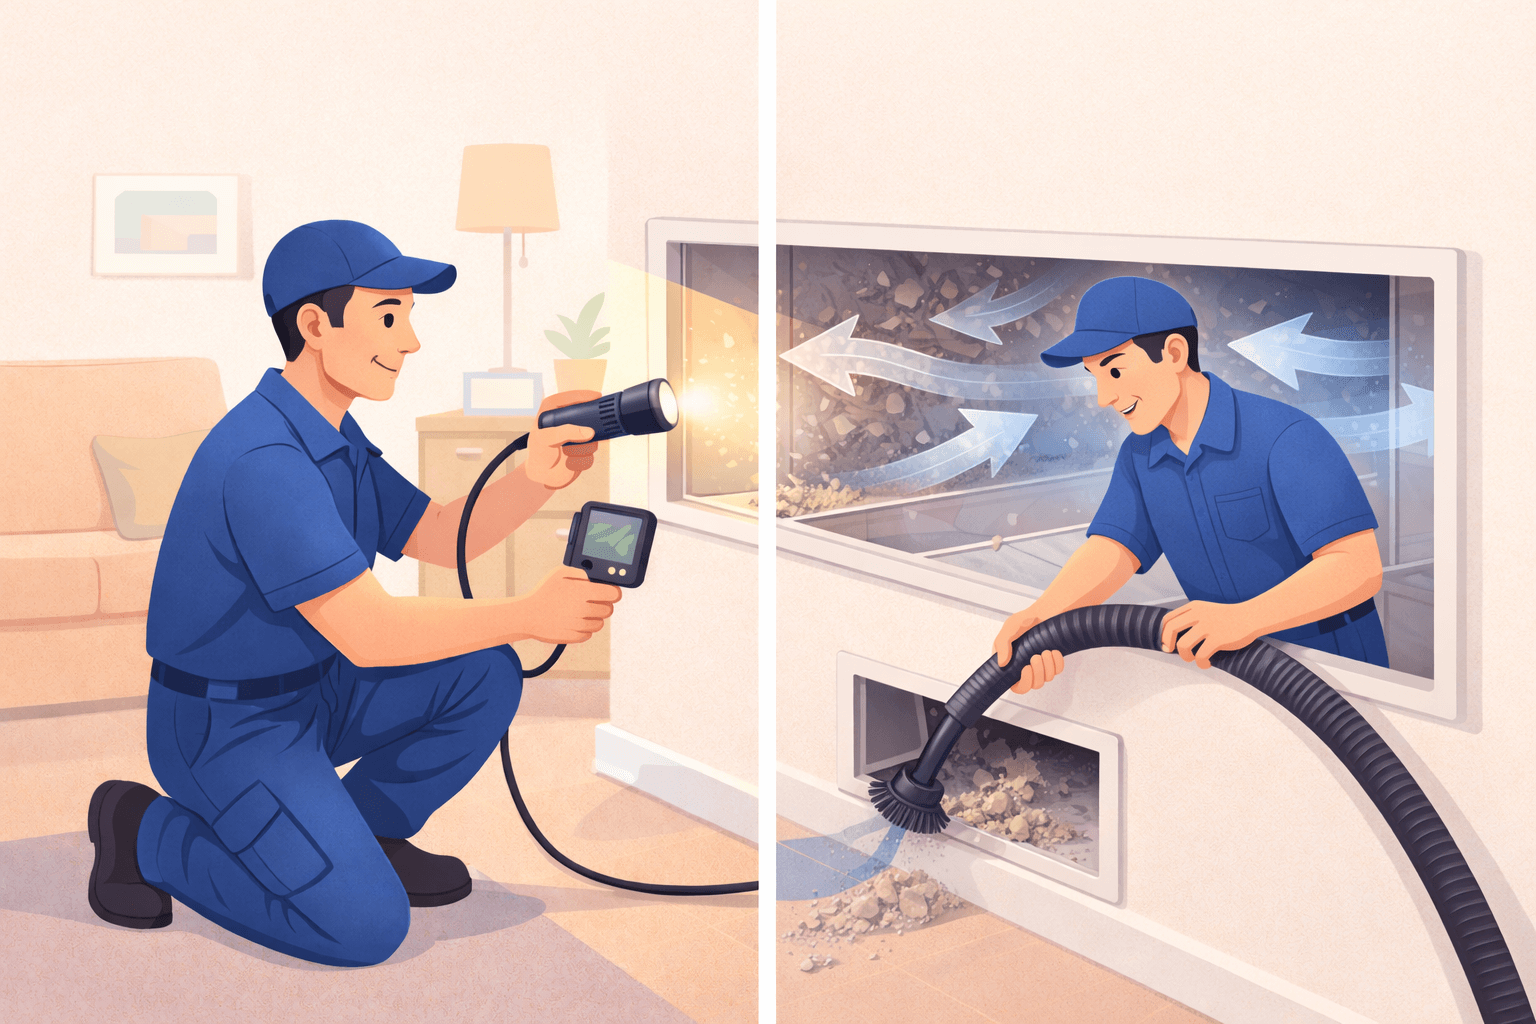

Here’s where we see homeowners get burned. Some companies quote cleaning without ever looking at your system. That’s a red flag. A legitimate company inspects first, then recommends based on actual findings.
| Factor | Inspection | Cleaning |
|---|---|---|
| Purpose | Diagnostic assessment | Active removal of contaminants |
| Determines | IF work is needed | The work itself |
| Duration | 1–2 hours | 3–5 hours |
| Cost in NYC | $100–$300 (or free with service) | $300–$700+ |
| Tools used | Camera, pressure tests, visual check | Vacuums, brushes, agitation tools |
| Deliverable | Report with findings | Before/after documentation |
Inspection protects you from unnecessary work. It also identifies problems you might actually have — like leaks wasting 20–40% of your conditioned air. According to the U.S. Department of Energy, duct leakage is one of the top energy wasters in American homes.
What Professional Duct Inspection Includes
When we show up to inspect your ducts, we’re not just shining a flashlight around. The NADCA ACR 2025 Standard outlines specific procedures. Here’s what a thorough inspection looks like.
Step 1: System Overview & Access Assessment
We start by mapping your HVAC layout. How old is the system? Where are all the access points — vents, registers, air handler? What type of system are you running — central air, mini-split, something else?
NYC factor: Older buildings often have unconventional layouts. We’ve seen ductwork in pre-war brownstones that defies logic. Limited access is common. We figure out how to reach everything before we start.
Step 2: Visual Inspection of Accessible Areas
This covers registers, visible duct openings, air handler, blower compartment, and filter housing. We’re looking for obvious contamination, damage, disconnections, and insulation condition.
Takes maybe 20 minutes. But it tells us a lot about what we’re dealing with.
Step 3: Camera/Borescope Inspection
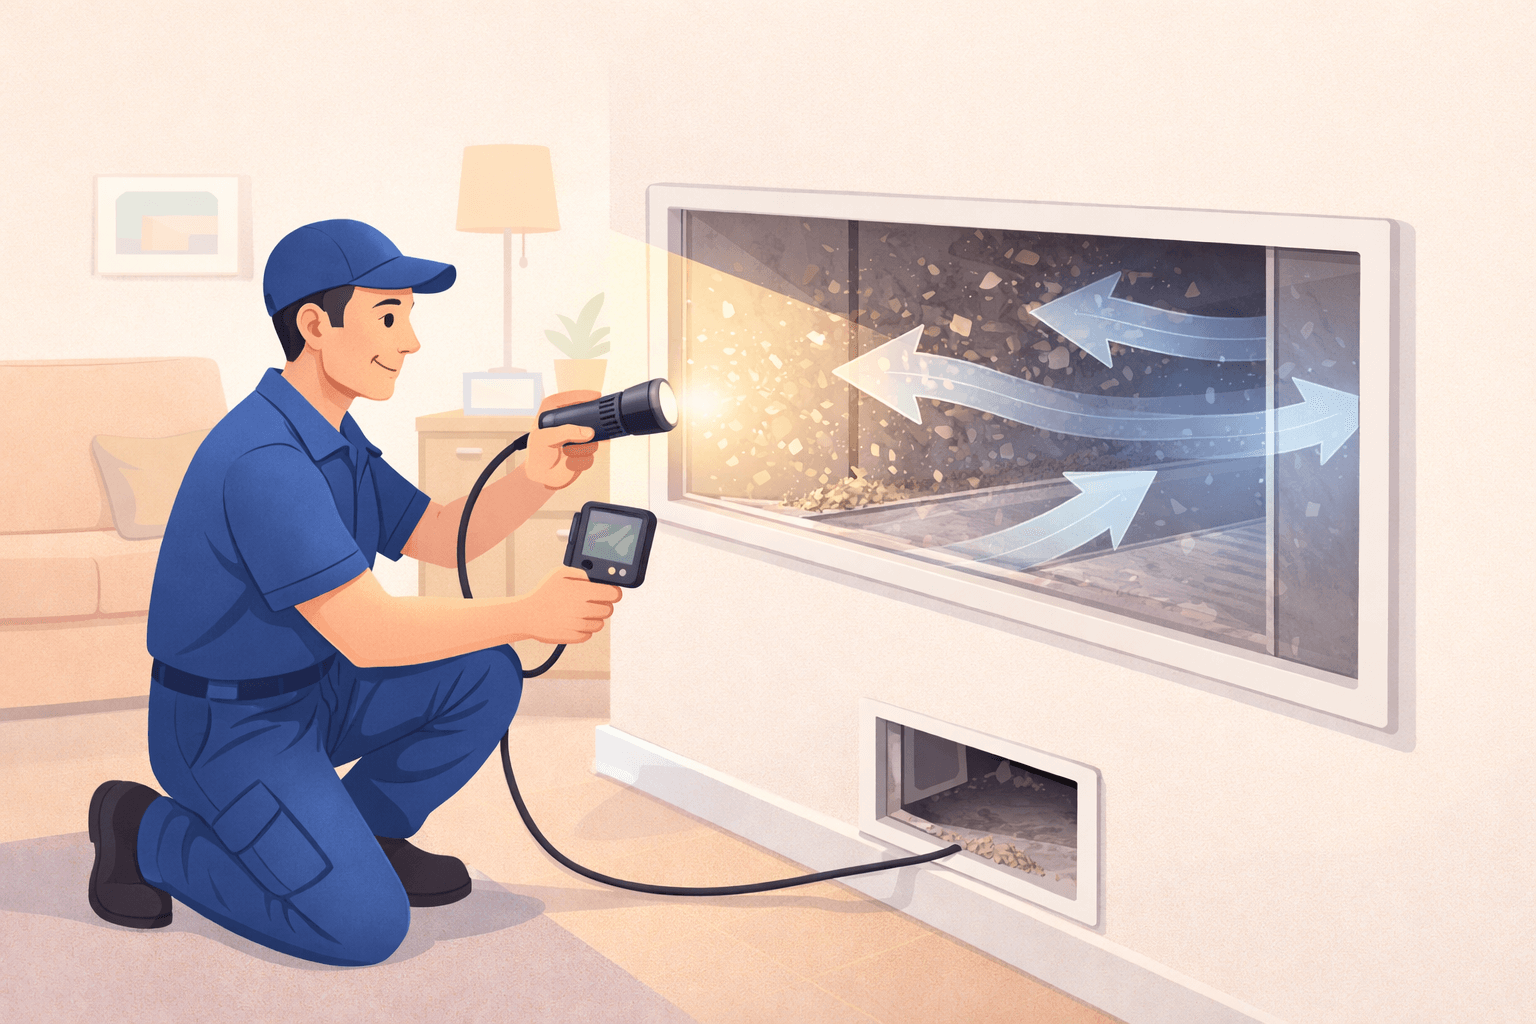
This is where it gets real. A fiber-optic camera goes into your duct system — snaking through areas you’ll never see otherwise. We capture video and photos of the interior condition.
What we’re looking for: debris buildup, mold, pest evidence (droppings, nesting materials), structural damage, disconnected sections.
This separates professional inspection from DIY guesswork. You can’t see around corners with a flashlight.
Step 4: Leak Detection
We use a smoke pencil or theatrical fog at joints and connections. If smoke wavers or gets pulled in, you’ve got a leak.
Why this matters: The EPA estimates typical homes lose 20–30% of conditioned air through duct leaks. In extreme cases, it’s 40%. That’s money flying out of your system.
NYC factor: Older ductwork is notorious for deteriorated seals. Decades of temperature swings take a toll.
Step 5: Airflow & Pressure Testing
We measure airflow at each register and compare supply vs. return balance. Looking for restrictions, blockages, undersized ducts — anything that’s choking your system.
Optional but thorough: pressurization testing for significant leaks. Takes longer but gives you the complete picture.
Step 6: Findings Report
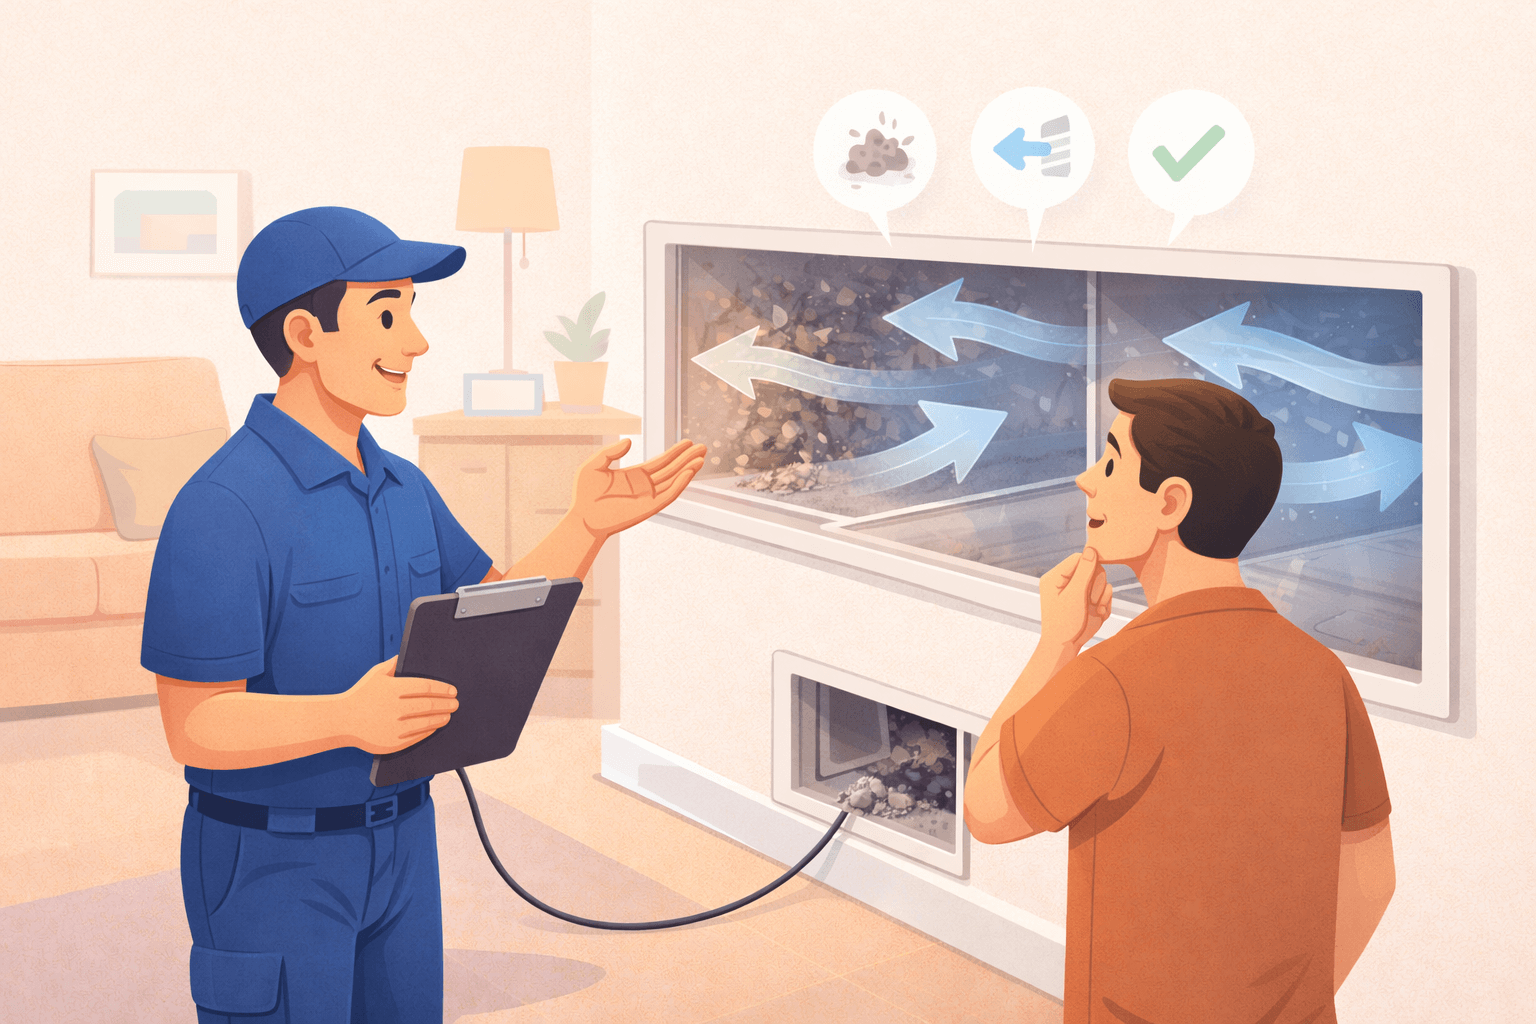
You get a summary of system condition, photos and video documentation, specific issues identified, and recommendations — cleaning, repair, sealing, or nothing.
Plus cost estimates for any recommended work. No surprises.
What Inspectors Look For
Contamination Issues
- Dust and debris accumulation (how much, how deep in the system)
- Mold or mildew — visible growth, musty odor
- Pest evidence — droppings, nesting materials, dead insects
- Construction debris (common after renovations)
Physical Damage
- Disconnected or separated duct sections
- Crushed or kinked flex duct
- Holes, tears, punctures
- Corroded metal ductwork
- Deteriorated insulation
Efficiency Problems
- Air leaks at joints and seams
- Inadequate insulation (condensation risk)
- Improper duct sizing
- Blocked or restricted airflow
- Poor original system design
Safety Concerns
- Asbestos-containing materials (pre-1980s buildings)
- Combustion gas intrusion for fuel-burning systems
- Fire hazards from debris near heat sources
The asbestos issue deserves extra attention in NYC. Many pre-war buildings have ductwork insulated with materials that contained asbestos. We don’t disturb suspected materials — that requires licensed abatement per NYC DEP regulations.
What You Can Check Yourself
Let’s be honest about your limitations. You can inspect what you can see and reach. That’s registers, visible duct openings, and accessible sections in basements or utility areas. You can’t see around corners, through walls, or deep into the system.
But DIY checks still catch obvious problems.
Tools You’ll Need
- Flashlight (bright LED works best)
- Mirror on extension handle
- Smartphone for photos
- Screwdriver to remove registers
- White cloth or tissue
- Incense stick or smoke pencil for leak detection
Check 1: Register Inspection
Remove each register and look inside with your flashlight. Note dust accumulation on duct walls. Look for discoloration, moisture stains, debris, visible mold (black, green, fuzzy growth). Photograph anything that looks wrong.
Check 2: The Tissue Test
Hold a tissue near a register with the system running. Return vents should pull the tissue toward them. Supply vents push air away. Weak airflow suggests blockage or leak. Compare airflow strength between rooms.
Check 3: The White Cloth Test
Run your system for 15 minutes. Hold a white cloth over a supply register. Excessive dust or discoloration indicates contamination. Compare results across different registers.
Check 4: Smell Test
Turn your system on after it’s been sitting idle. Musty or stale odor? That suggests mold or moisture problems. Burning smell means dust on heat exchanger — or something worse. Persistent odors warrant professional inspection.
Check 5: Basic Leak Detection
Light an incense stick near duct joints with the system off, then on. Smoke that wavers or gets pulled indicates a leak. Focus on visible joints, connections, seams. Note locations for professional follow-up.
Check 6: Accessible Ductwork
Check anywhere ducts are exposed — basement, utility closets, drop ceilings. Look for disconnections, sagging, damage. Check insulation condition. Note any visible holes or gaps.
When to Schedule a Professional Inspection
Routine/Preventive
- Every 3–5 years for a full professional assessment (aligns with NADCA cleaning recommendations)
- Before signing any cleaning contract — verify you actually need it
- When buying a home — you don’t know the ductwork history
- After major renovation — even if contractors “cleaned up”
Problem-Driven
- Visible dust or debris blowing from vents
- Musty odors when system runs
- Allergies or respiratory issues worsening indoors
- Uneven heating/cooling between rooms
- Unexplained spike in energy bills
- Suspected pest activity in walls or ceiling
NYC-Specific Triggers
- Moving into a pre-war building (decades of unknown history)
- After neighbor renovation in shared-wall buildings (dust infiltration is real)
- Post-construction in your neighborhood (urban dust penetration)
- Following any water damage or flooding
- Rodent issues — endemic in older NYC buildings
NYC-Specific Inspection Considerations
NYC isn’t like anywhere else. Our building stock creates unique challenges.
Building Access Challenges
High-rises: Limited duct accessibility, potentially shared system complications. Some buildings have central systems serving multiple units.
Pre-war buildings: Non-standard layouts are the norm. Ductwork routed through unexpected places. Potential asbestos concerns in insulation and tape.
Brownstones: Multiple floors, old ductwork, tight spaces. Original systems from the 1950s or earlier aren’t uncommon.
Co-ops and condos: May need board approval for work. Neighbor coordination sometimes required. Building management may have preferred vendors.
What NYC Inspectors Should Check
- Asbestos-containing materials in pre-1980s buildings (visual ID, recommend testing if suspected)
- Condition of ductwork in buildings with decades of deferred maintenance
- Evidence of rodent intrusion — a persistent NYC issue
- Construction debris from ongoing neighborhood development
- Humidity and condensation issues — especially in high-rises
Logistics
- Schedule a 1–2 hour window
- Provide building access info in advance
- High-rise buildings may require freight elevator for equipment
- Street parking is a factor — let us know about restrictions
What to Expect in the Inspection Report
A good report helps you make informed decisions. Here’s what to look for.
A Solid Report Includes
- System overview (type, age, layout)
- Condition assessment with clear rating
- Photo and video documentation of findings
- Specific issues identified with locations
- Severity classification (urgent, recommended, optional)
- Recommendations with reasoning
- Cost estimates for recommended work
Red Flags in Reports
- No photos or video documentation
- Vague findings like “ducts are dirty” with no specifics
- Pressure to decide immediately
- Recommending cleaning without showing evidence
- Quoting work without explaining why it’s needed
Questions to Ask After Inspection
- Can I see the camera footage and photos?
- What’s urgent vs. what can wait?
- What happens if I don’t address this?
- Is cleaning necessary, or just recommended?
- What’s included in your cleaning quote?
Inspection Costs in NYC
| Inspection Type | Cost Range | Notes |
|---|---|---|
| Basic visual inspection | $75–$150 | Registers, accessible areas only |
| Camera/borescope inspection | $150–$300 | Full system assessment with documentation |
| With duct cleaning service | Often free | Included as first step of cleaning |
| With HVAC tune-up | Often included | Ask your HVAC tech |
| Pre-purchase home inspection add-on | $100–$200 | Worthwhile for older buildings |
What Affects Cost
- System size and complexity
- Building accessibility (high-rises, tight spaces)
- Whether video documentation is included
- Standalone vs. bundled with other services
Manhattan tends to run 10–20% higher than outer boroughs. Brooklyn and Queens fall slightly above the NYC average.
The Bottom Line
Inspection is the smart first step. It tells you what’s actually happening inside your ducts before you spend money on cleaning or repairs.
For NYC homes — with our combination of aging buildings, urban pollution, and pest pressure — periodic inspection is particularly valuable. We’ve been doing this across the five boroughs since 1998. Trust us, we’ve seen everything.
Ready to find out what’s in your ducts?
Call Remex USA at (929) 430-2332 for a free inspection with your duct cleaning service — or schedule a standalone assessment. We’ll show you exactly what we find, explain what it means, and give you honest recommendations.
No pressure. No BS. Just the straight facts about your ductwork.
Remex USA has served New York City since 1998, providing air duct cleaning, mold remediation, water damage restoration, and indoor air quality services across Brooklyn, Manhattan, Queens, Staten Island, and the Bronx. We’re locally owned, A+ rated with the BBB, and available 24/7 for emergencies.